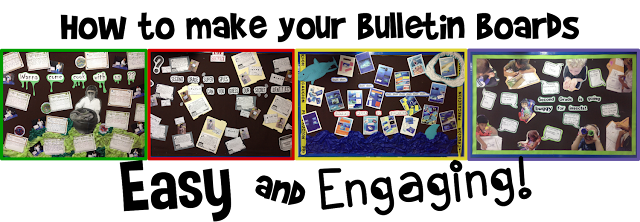
I try to create easy bulletin boards because, let's be honest, What teacher has spare hours to build elaborate, perfect bulletin boards?
But you also don't want to be just slapping up anything on your board! It needs to draw people in; it needs to be visually interesting. It needs to be engaging!
When I first came to my current school (four years ago!) I was greeted by the largest and blankest bulletin board I have ever seen.
I kid you not, this board is about 5 feet tall and 10 feet wide. It is a monster!
It was situated right outside my classroom and in the main lobby of the elementary building. Meaning that everybody who comes into the elementary lobby can see it, and it was my responsibility to fill it. A bit daunting.....
I began by backing it with a humongous brown piece of fabric. I've found that fabric is better than paper because it fades slower and I didn't have to staple a whole bunch of small papers together in order to cover it. The neutral brown color also means that I can leave it up regardless of what decorations I put on top. It looks good with everything!
When putting together my bulletin boards, I keep 3 things in mind:
1. Student Work
The whole point of the bulletin board is to show off the learning that is happening in your classroom, so the focal point of your bulletin board should be student work!
I find that writing samples showcase beautifully on my bulletin boards. At the end of each writing trait unit, my students complete a writing project. The final copies of these writing projects often make their way out to my bulletin board.
If you want to know about these writing projects you can check out my blog posts on them by clicking here: Writing Projects.
Student created visuals are another type of work that looks good up on the board!

Student created visuals could include:
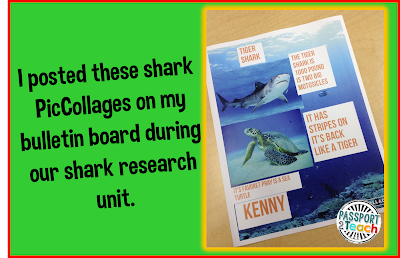
- Collages (ex. PicCollage app)
- Shape poems
- Word clouds (ex. Wordle)
- Infographics (This article lists different infographic creators!)
Another form of student work that pops on a bulletin board is the use of student quotes about an activity or topic. Most recently near the end of our insect unit, I printed out giant speech bubbles (Thanks to Graphics by Sarah Beth! If you want to get her free speech bubble clip art pack, click here!) and had each student finish a prompt that I typed in the speech bubble. I then put them up on the board with a picture of the student doing an activity from our insect unit. (more on pictures later!)
2. Words
Each bulletin board I do has a phrase or sentence that tells the topic the students are learning about and draws in the reader.
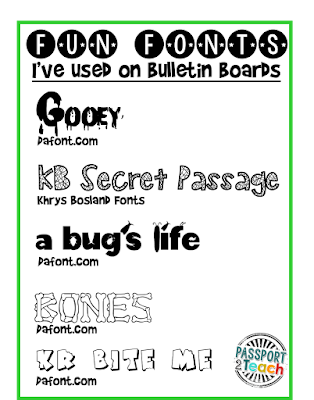
To make these phrases interesting, I like to download fun and new fonts to use on my boards!
I buy fonts from TPT shops like Babbling Abby, Kimberly Geswein, Khrys Greco. Another great place to look for fonts, especially if you just want to use them on bulletin boards and not for commercial things, is dafont.com.
I always make sure that these phrases are short and in SUPER LARGE font. When I say I use large font, trust me, I go up into the 200's or 300's in font size. This makes it easy for people to read even from across the lobby.
Short and snappy (or cheesy) phrases are best because I want the real focus of the board to be the student work, not my words.
Some phrases I've used:
- Second Grade Super Spies! Can You Guess Our Secret Identities?
- Dun dun, Dun dun, Dun dun dun dun dun dun. Shark Week Is Coming!
- Wanna Come Cook with With Us?
- Second Grade is Going Buggy for Insects
- Get Excited About Second Grade Because Second Grade Rocks!
- This Town Ain't Big Enough For All Of Us!
All of my big text I print, cut out, then glue on to bright colored paper, before cutting out that paper. Having that border of color around the words, helps them to pop on my board and makes it easier to read them.
3. Pictures
Most of my bulletin boards feature photos of my students. Kids LOVE seeing pictures of themselves, and the sillier the better!During the school day, I am constantly taking candid photos of my students. Over the course of the school year, I probably take thousands. Some of them I use for our class website, others are for my TPT products, and others for this blog, and still others are for using on the bulletin board. It's like giving the whole school community a little peek into the everyday learning that takes place in my classroom.
I still love to dress up (Halloween is my favorite holiday) and of course my students do to! I often take pictures of my students in themed costumes at the end of our writing projects and it's always fun to put them up where everyone can enjoy them!
Another crowd pleaser is when I blow up the photos to life size or even more larger! In order to make my pictures this big I use a website called Rasterbator (I ignore the awkward name) This website lets you upload a photo and then choose how big you want to be. Then lets you print the photo on multiple normal sized printer paper. After that, you just line up the edges and glue the pieces of paper together. Voila! Giant pictures!


No comments:
Post a Comment